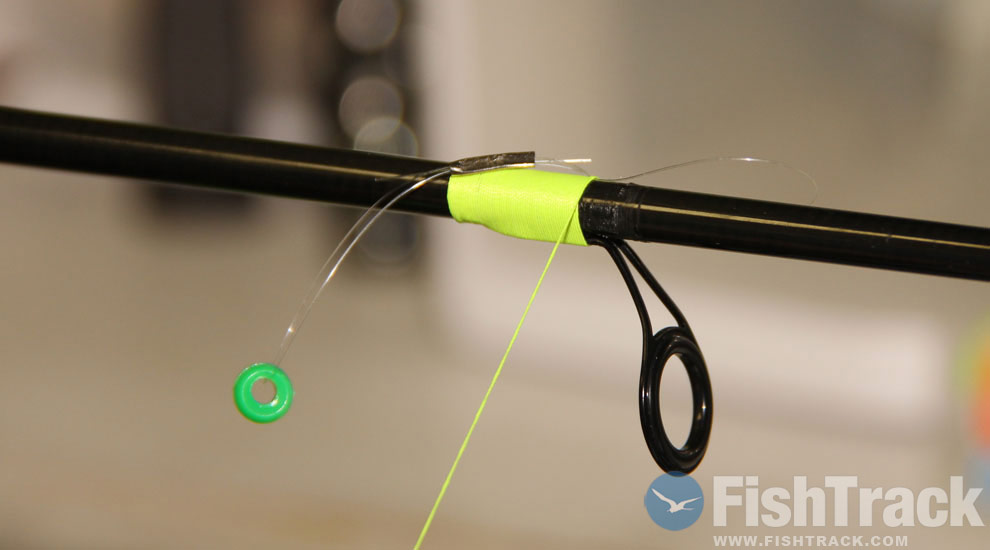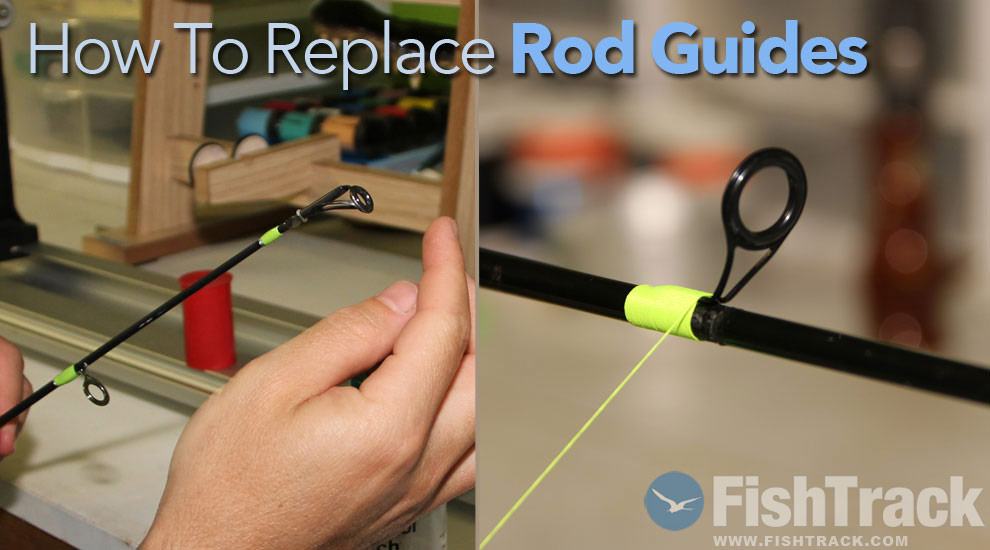
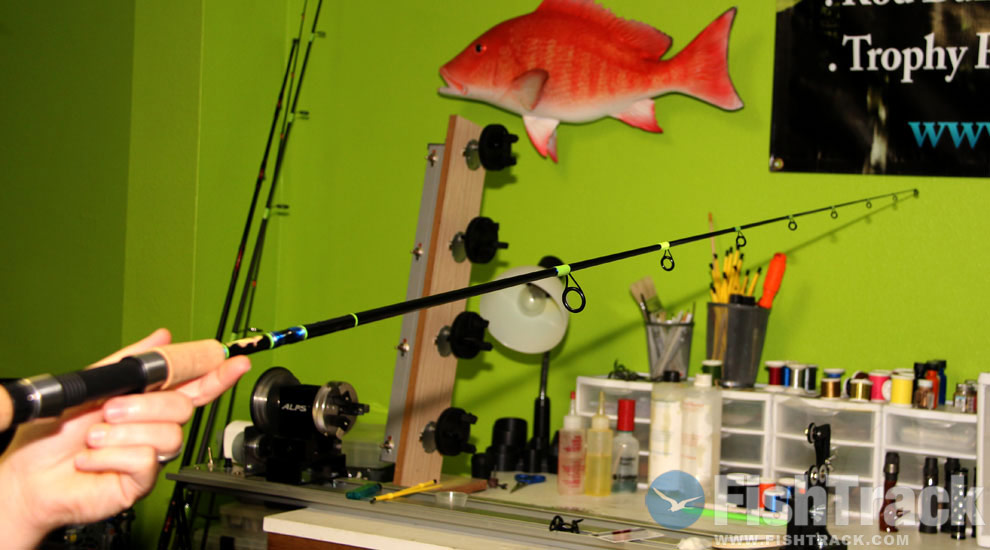
| Broken eyelets are a fact of life for any hard-fishing angler, but with just a bit of know-how and practice, you can fix your own favorite fishing rods quickly and inexpensively. Here, rod-building expert Kevin Brotz in Oviedo, Florida, offers step-by-step instructions that describe how to replace a rod tip and how to replace and/or rewrap a guide on your fishing rod. Up first, replacing a rod tip. |
REPLACING A ROD TIP
 |
 |
| STEP 1 | STEP 2 |
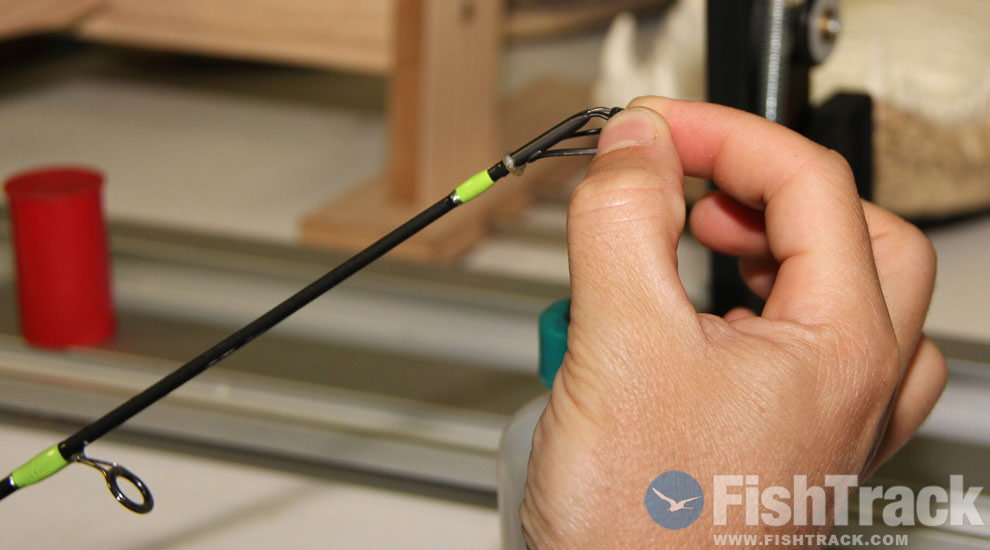
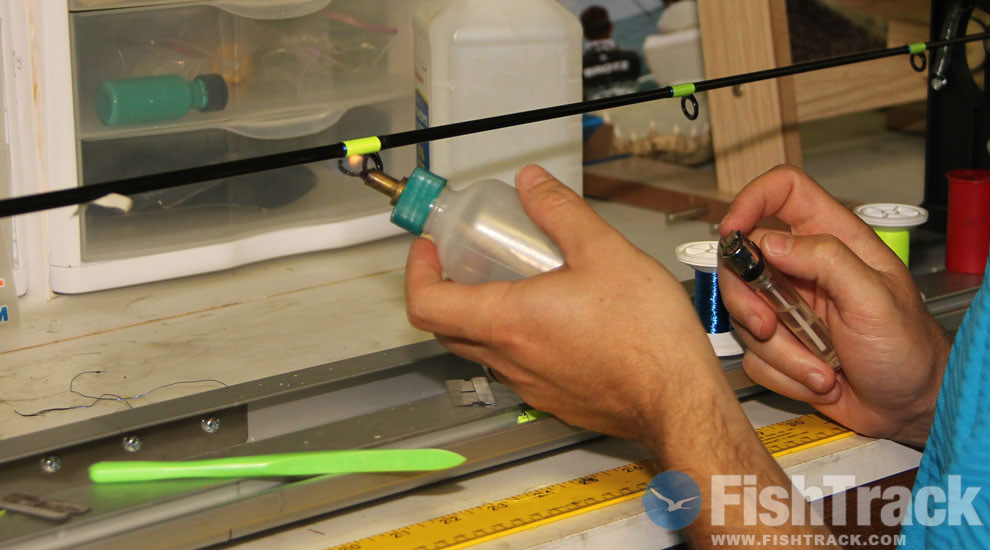
| Start by warming up the broken tip just enough to release the epoxy glue. Be careful as too much heat can damage a graphite, fiberglass or composite rod blank. Keep applying small amounts of heat and gently pull on the rod tip until it pops off. Alcohol burners provide an ideal flame because they burn clean and don't produce soot, but a regular lighter will do. |
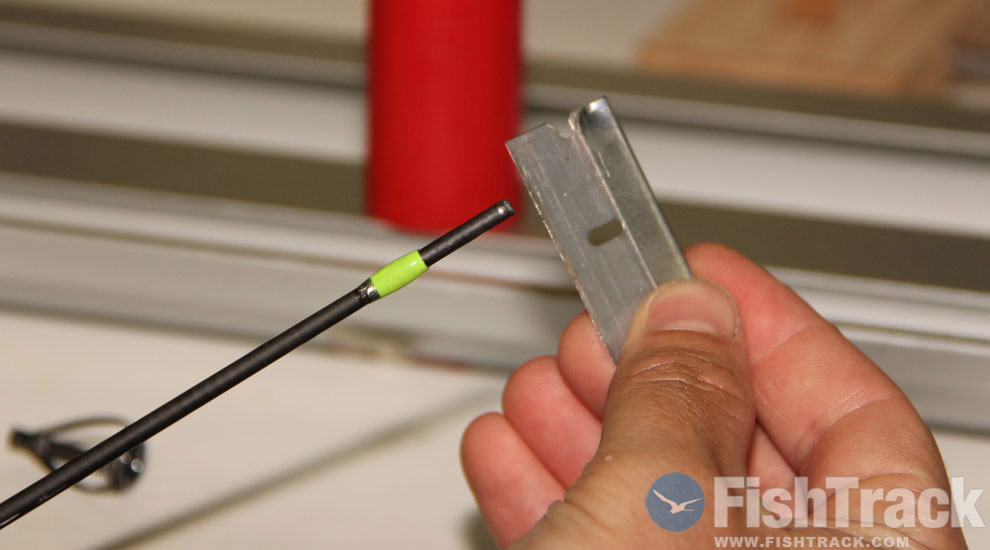
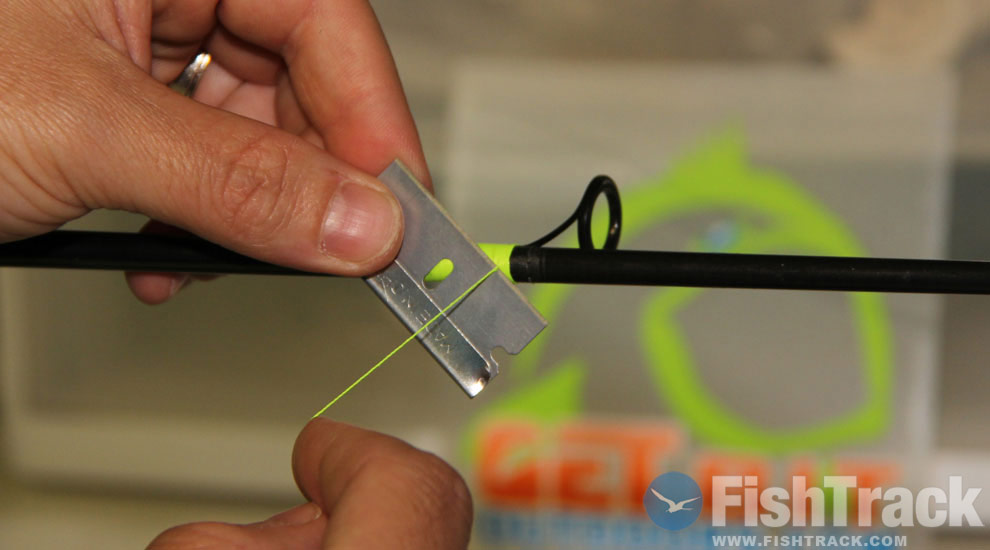
Lightly scrape the exposed end of the rod with a razor blade to remove all traces of the old epoxy. You can also use fine-grit sandpaper to clean up the rod blank. |
 |
 |
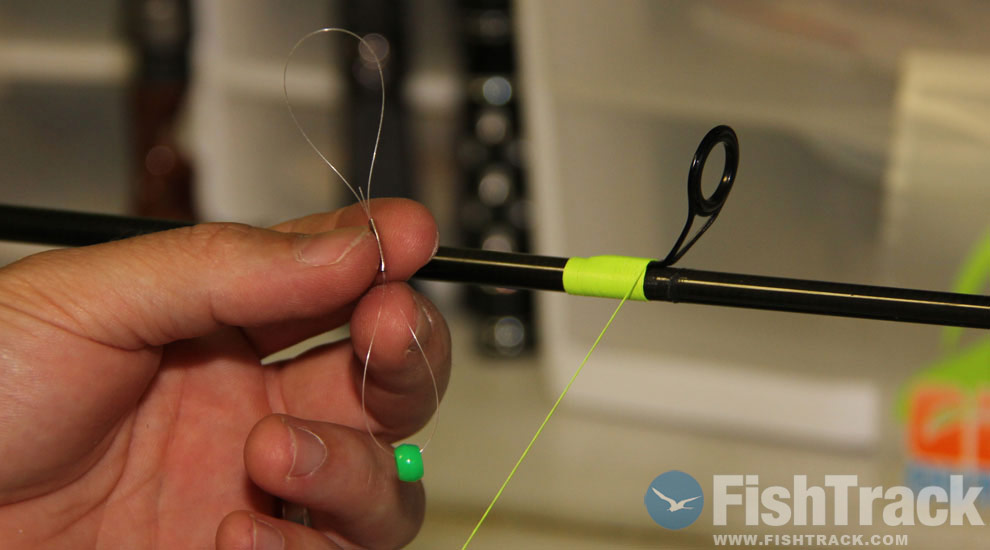
| STEP 3 | STEP 4 |
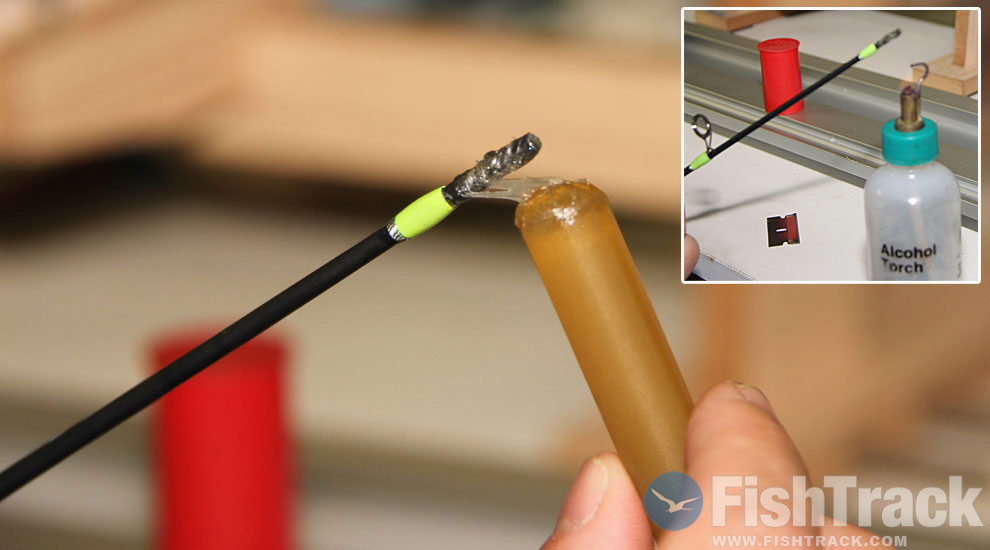
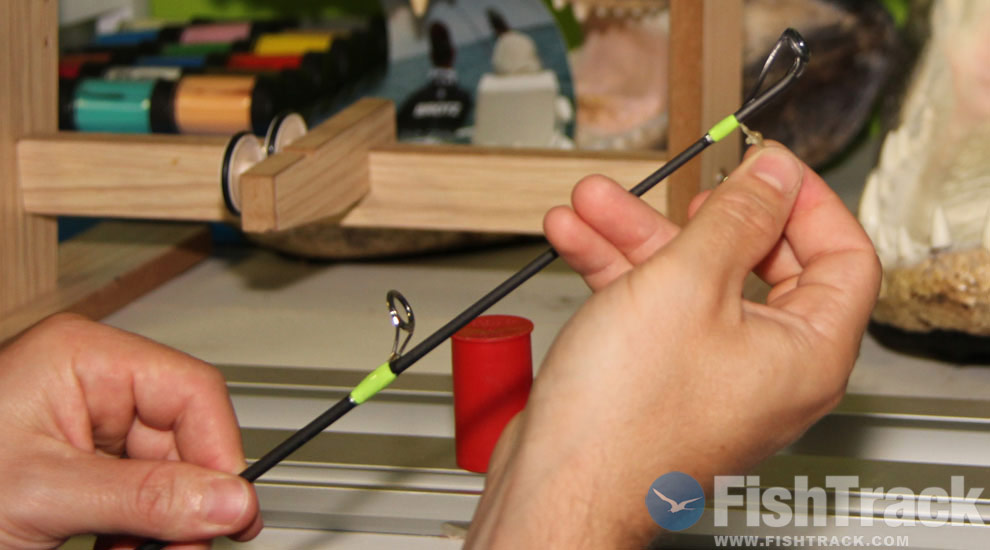
| Heat the end of an epoxy stick and apply the epoxy to the clean tip as you rotate the rod to ensure even coverage. Gently reheat the epoxy to soften it (inset). | Slide on a replacement tip that matches the size of your rod blank and ensure it's straight before the epoxy hardens. |
 |
|
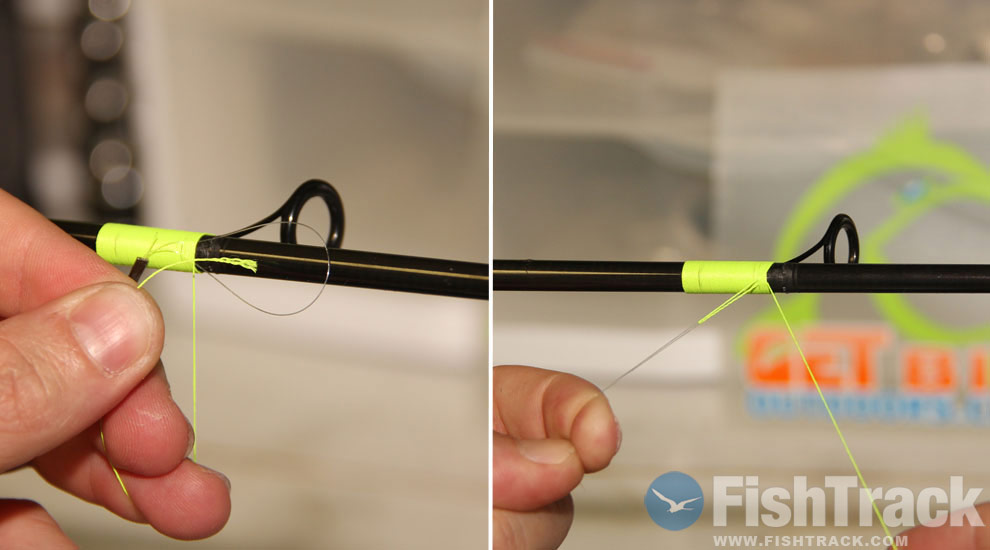
| STEP 5 | For more Tips and Tricks Check out our Video Vault. |
|
Peel off the excess epoxy before it hardens completely. Let the tip cool thoroughly before handling it or using the rod. If you've accidentally installed the tip out of line with the rest of the guides, reheat it and rotate as needed. |
REPLACING A ROD GUIDE
 |
 |
| STEP 1 | STEP 2 |
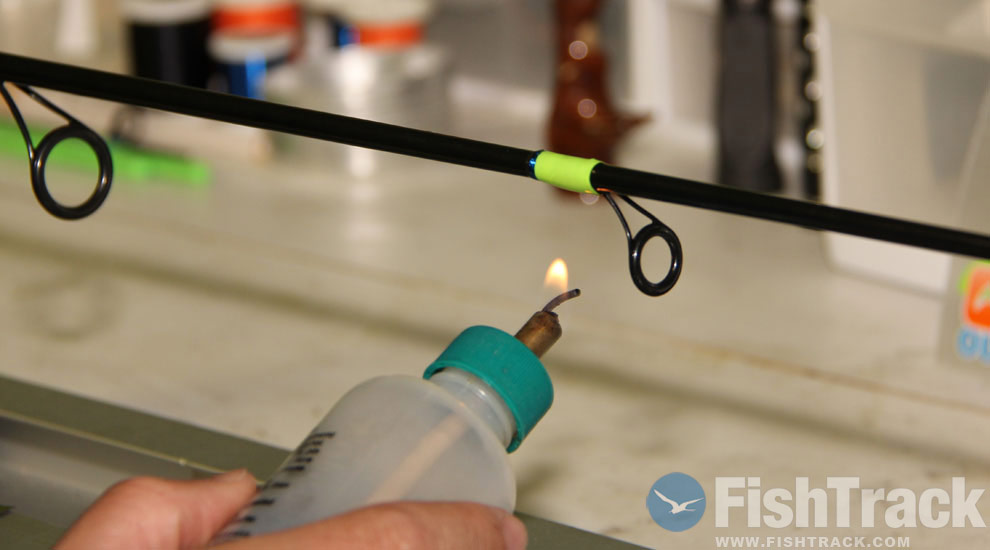
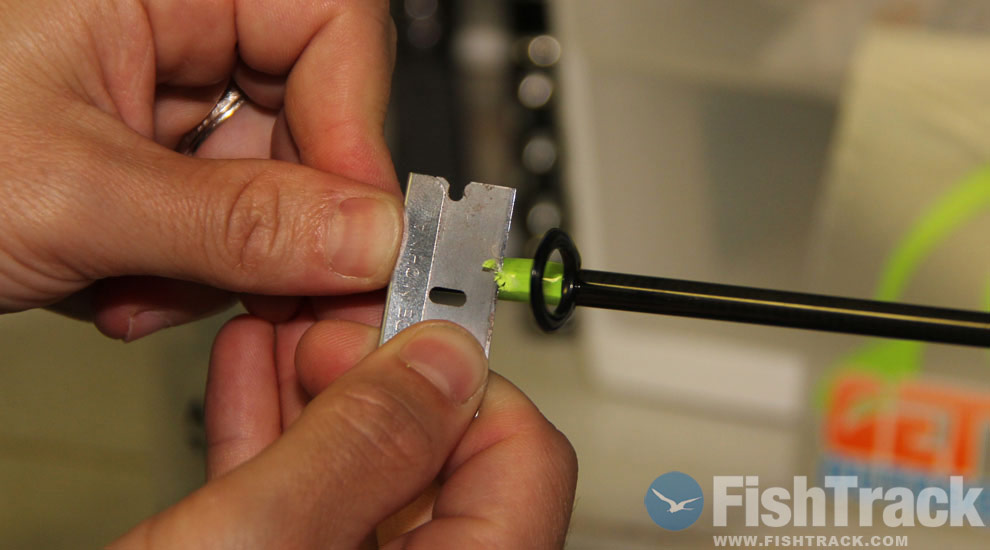
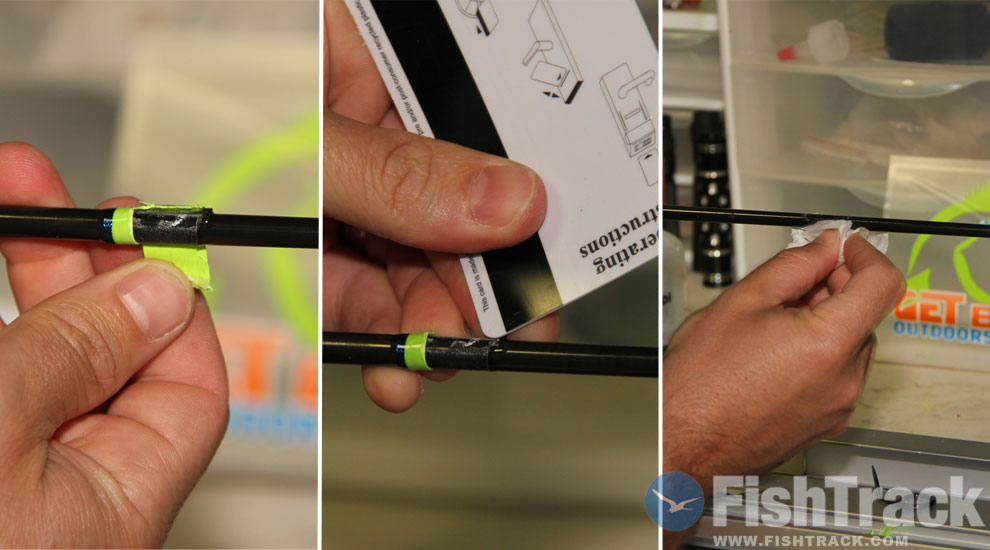
| Broken rod guides usually need to be completely removed and replaced for best results, but learning this skill can lead to a rewarding hobby in rod building. "This is how people get started," says Brotz. "If you can re-wrap a guide, you can wrap an entire rod." Start by softening the epoxy carefully with a bit of heat to make the thread easier to cut and remove. | Cut the threads with a sharp razor blade, working against the guide foot. Be careful not to damage the rod blank. |
 |
 |
| STEP 3 | STEP 4 |
|
Grab the guide and use the foot to carefully work it out of the threads. |
Carefully remove the rest of the thread. The edge of a credit card (or hotel room key as pictured above) works great for scraping off old epoxy and working off loose threads without damaging the blank. Clean the blank with rubbing alcohol to remove all residue of glue and thread. |
 |
 |
| STEP 5 | STEP 6 |
|
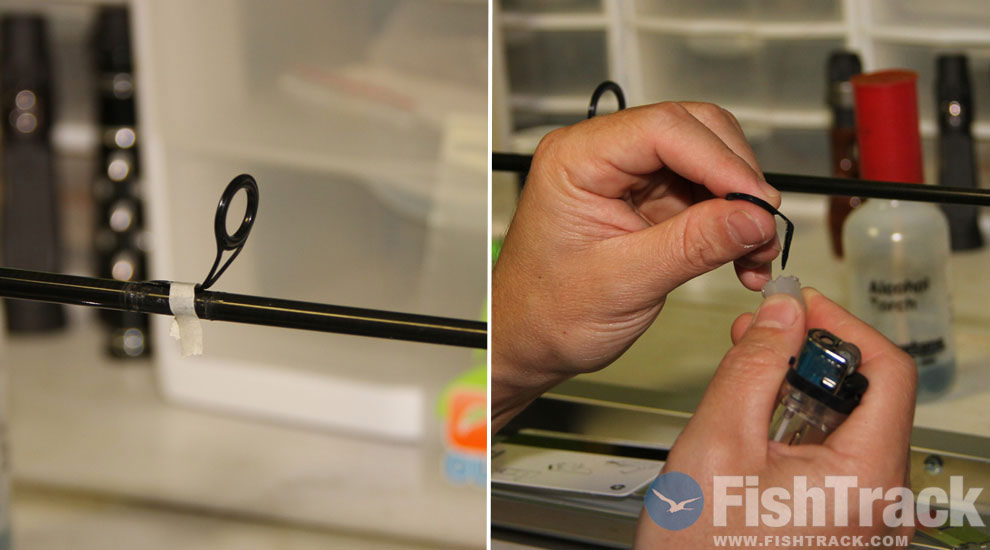
Position the new guide on the blank using masking tape (left) or guide-foot adhesive (right). You will be able to fine-tune the position of the guide after you start wrapping it. |
Tape the end of your thread well away from the guide in the direction you want to wrap. Rotate the rod in a turning machine or by hand, working the thread slowly back until it is a quarter-inch past the guide foot. |
 |
 |
| STEP 7 | STEP 8 |
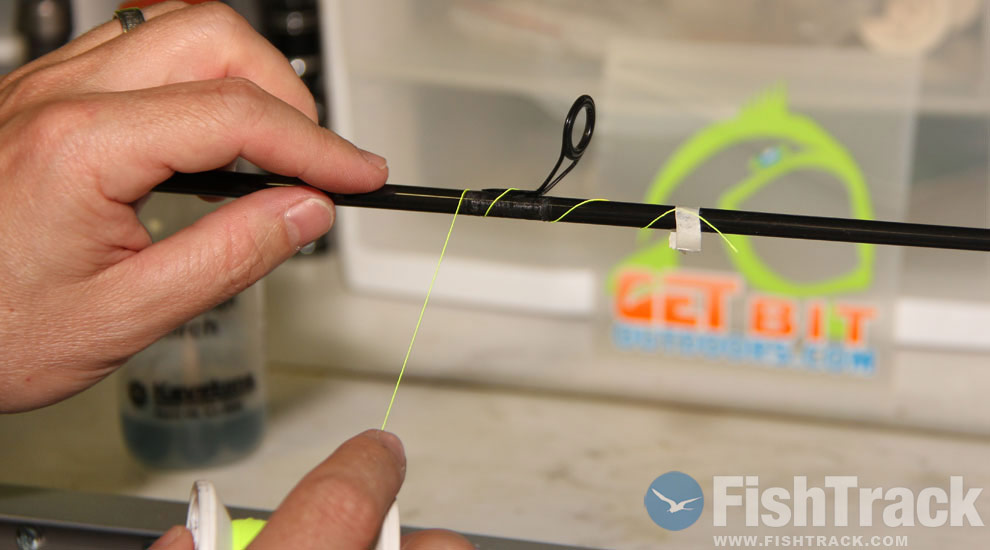
| Rotate the rod until the thread wraps over itself tightly. This is critical as it eliminates the need for any knots. Rotate and add at least five more wraps close together, working back towards the guide. |
Remove the masking tape and cut the tag end close to where it exits the tight wraps. |
 |
|
| STEP 9 | STEP 10 |
| When you are about six turns from the leg of the guide, you will need a loop of mono or thread to complete the wrap. This homemade tool called a quick-pull works great. | Wrap the last 6 to 7 turns of thread tightly over the quick-pull loop. Cut your thread, leaving a long tag end to work with. |
 |
 |
| STEP 11 | STEP 12 |
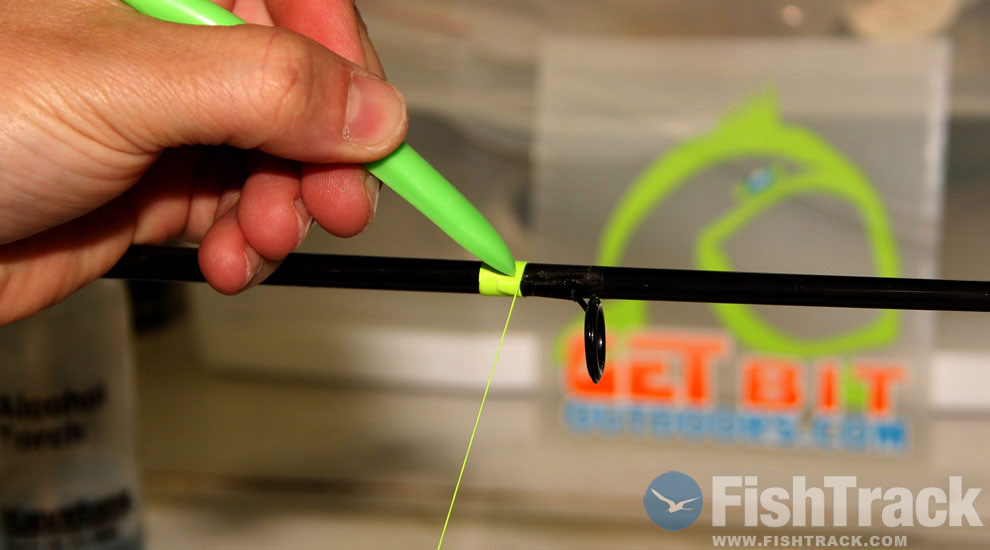
| Insert the tag end of your thread through the loop of the quick-pull (left). Gently pull the quick-pull out, bringing the tag end of your thread under the last few turns you made (right). This will secure the thread in place. |
Carefully trim your tag end neatly against the thread wraps. Use the burnishing tool again to clean up your wraps a final time. |
 |
 |
| STEP 13 | STEP 14 |
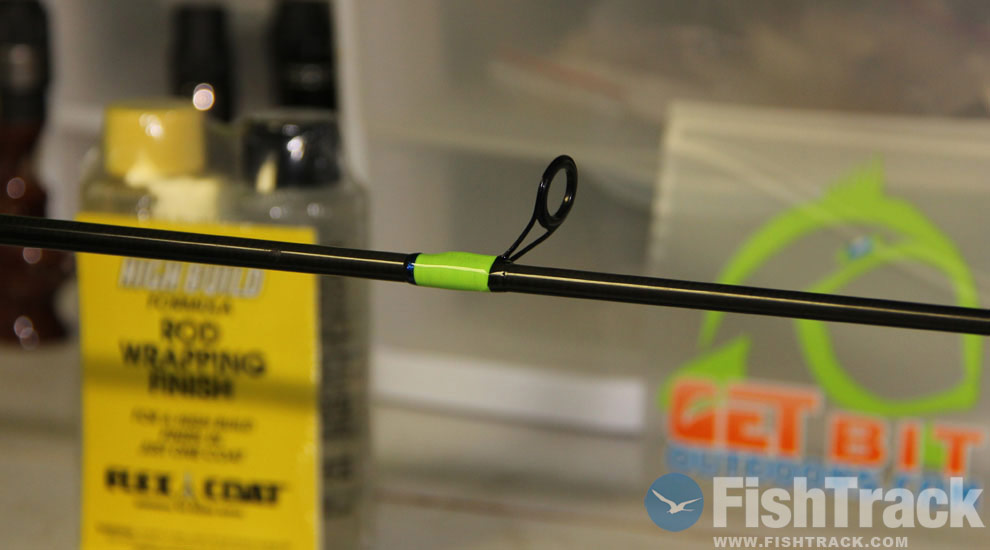
| Look down the rod to make sure your new guide lines up with the others. You can fine-tune the position of the guide if necessary by gently working it around the blank under the wraps. |
If you are adding a second color of trim thread, repeat the entire wrapping process, working in the opposite direction. |
 |
 |
| STEP 15 | STEP 16 |
|
A bit of heat carefully applied will help set the thread wraps in place. Make any final adjustments to the guide and threads at this point. |
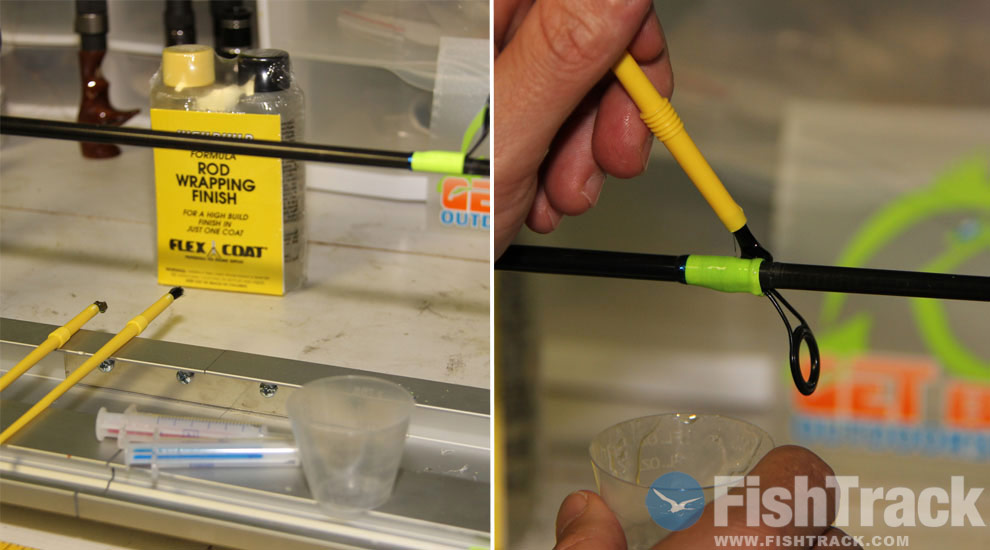
Throughly mix proper proportions of two-part rod-wrapping finish epoxy. Use a small paintbrush to apply epoxy to your wraps as you slowly rotate the rod. The epoxy should be "guided" onto the wraps and picked up by the threads as the rod rotates, rather than brushed on. Be sure to apply epoxy all around and behind the guide foot, which will keep out salt water. |
 |
 |
| STEP 17 | For more Tips and Tricks Check out our Video Vault. |
| Slowly spin the rod until the epoxy sets. If you don't have an automatic rod spinner, use very thin coats of epoxy (just enough to soak into the threads) and apply several coats. Once the epoxy is completely cured, the rod is ready to use. To purchase replacement guides and all of your rod-building components visit our Home Page. |